Tutorial: Wrist Ribbons
These wrist ribbons are one of the fun things that I have made for some of the kids in the Stocking Stuffer Swap, and they are so easy and fun that I wanted to share a tutorial with you so that you can make your own. Maybe even to stuff in a little one's Christmas stocking?
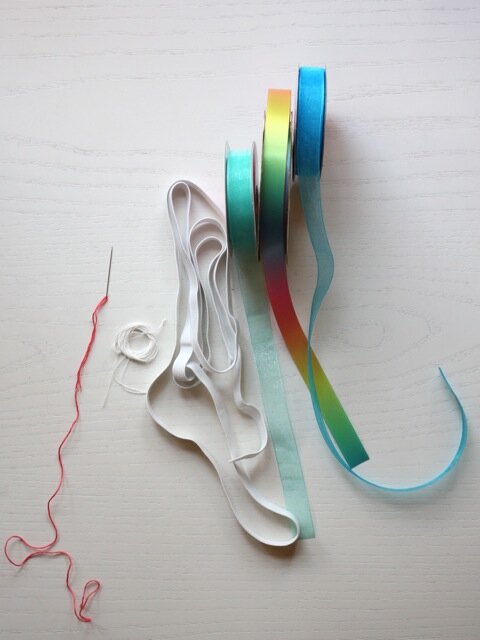
The supplies that I used are three different colors of ribbon all the same width, thin elastic (about 3/4 inch wide), needle and thread, and also a hot glue gun.
I measured my children's wrist and then cut a 6 inch strip of the elastic. I make this into a circle with about an inch of overlap,
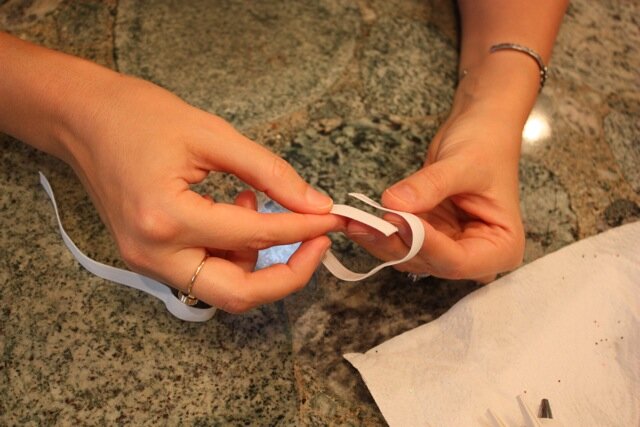
I like to begin by putting a line of hot glue on that inch of over lap,
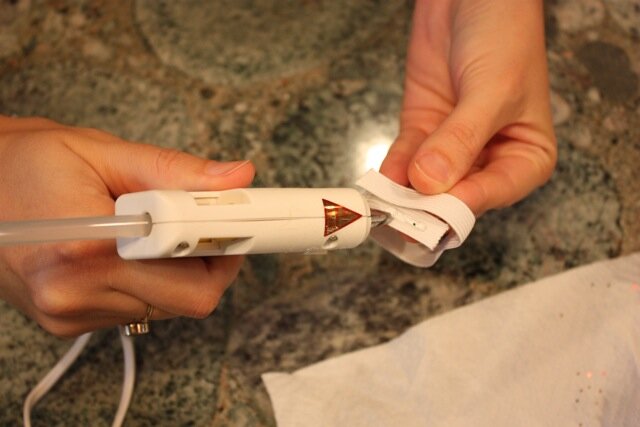
and then press together until set.
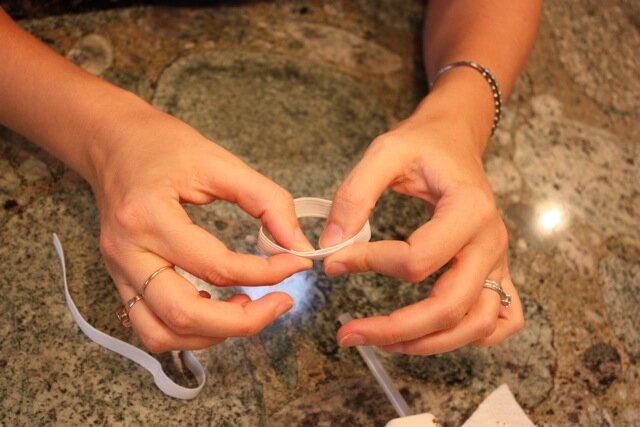
Here are my freshly glued elastic wrist circles,

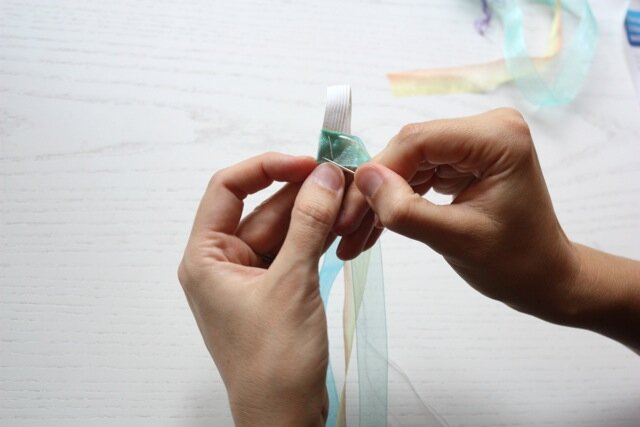
Then I take my three different colors of ribbon, cut into about 1 yard long sections, and stack them lining the cut ends up. I've got my needle and thread ready to sew. If you don't have a glue gun you can begin at this point and just secure everything with your needle and thread.

I place the stacked ribbons against the part of the elastic that I just glued,

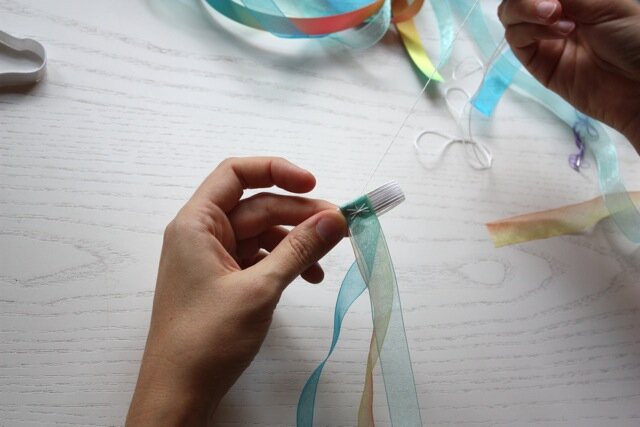
and sew, crisscrossing the thread on the side that will be visible when worn,
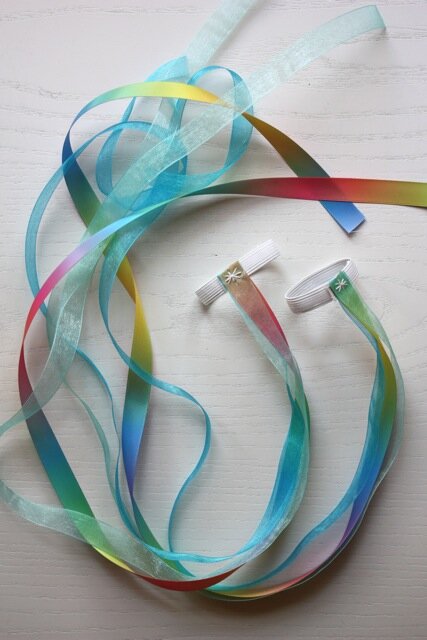
so that when I am done sewing the stiches look like a little star.
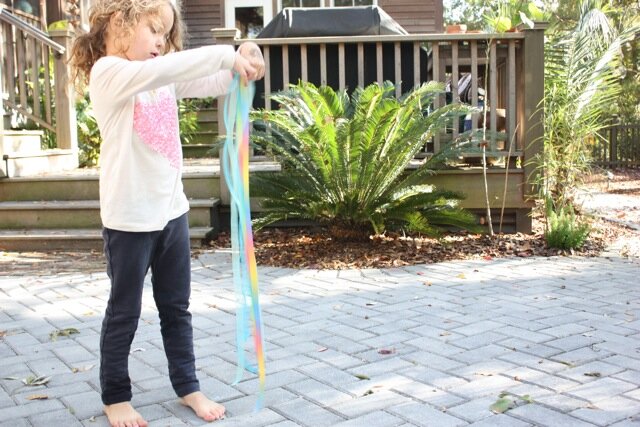
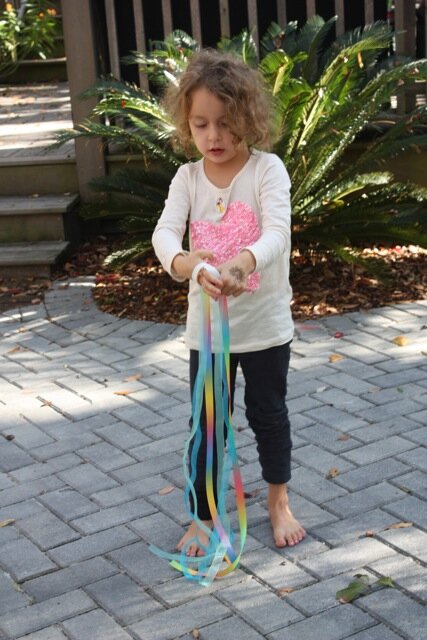
Now they are done and the fun begins, they get put on the wrists,
and away we go!
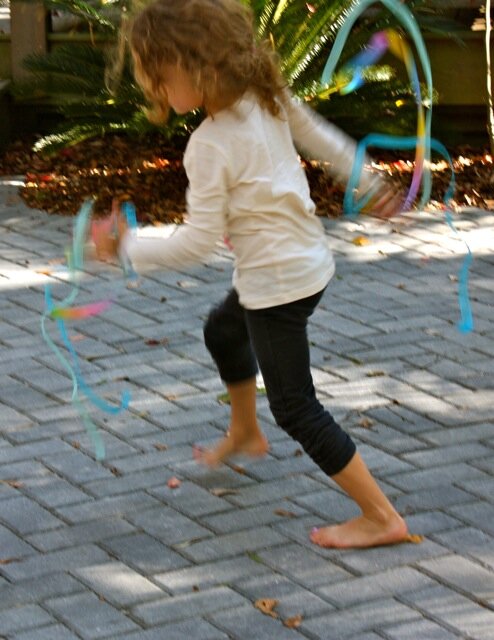
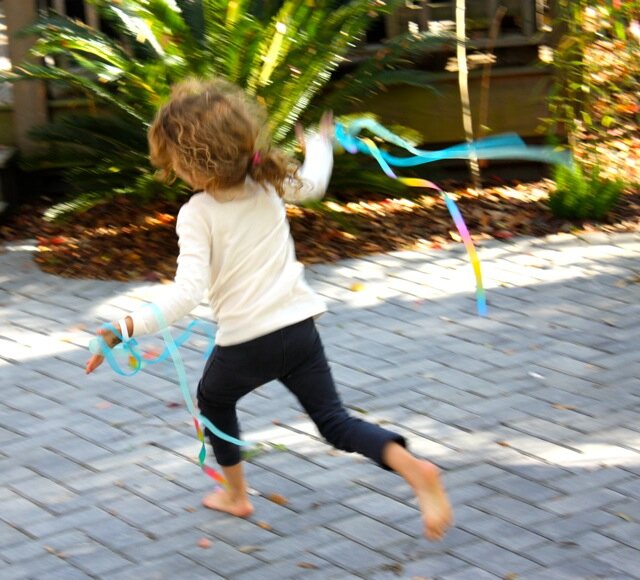
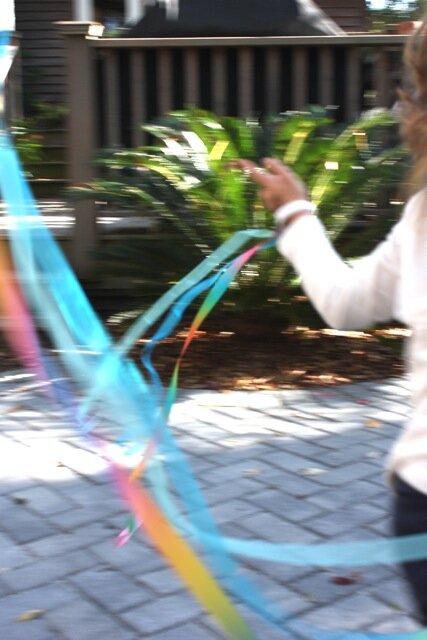
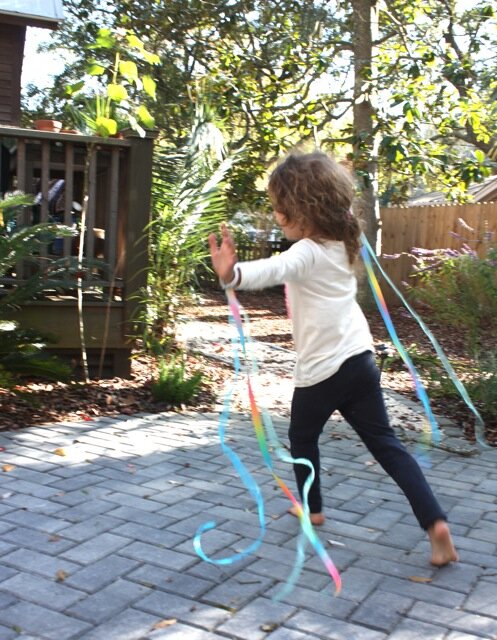
They seem to make dancing, running, spinning and even gazing just more fun!